Hello, World! 🌟
Welcome to your first Kontra TUI app!
Let's walk through a simple example to understand the core structure and flow of any Kontra application.
🧠 The Big Picture
A basic Kontra app follows this simple flow:
- Create Components – like
TextorInputBox. - Wrap them in Layouts – like
Border,Flex, orList. - Render everything inside a
Screen– the root container. - Call
kontra::run()– to launch the app and handle user input.
📦 Includes
  #include <kontra.hpp>
  #include <memory> // for std::make_shared
Step 1: Create the Text
  auto hello_text = std::make_shared<Text>(
      "Hello, may the force be with you!",
      TextStyle(ansi::FG_YELLOW, "", true) // yellow + bold
  );
- The
TextStylelets you style text with foreground color, background color, and options like bold. - All components in Kontra are created usingstd::make_shared, so memory is managed automatically.
Step 2: Wrap it with a Border
  auto bordered_text = std::make_shared<Border>(hello_text);
  bordered_text->set_padding(2);
- The
Bordercomponent wraps anything you give it. set_padding(2)adds spacing around the text inside the border.
Step 3: Create a Screen
auto screen = std::make_shared<Screen>(bordered_text);
Every UI needs a screen – think of it like the canvas your TUI will be drawn on.
Step 4: Run the App
  kontra::run(screen, [&](const InputEvent& event) {
    // This example is static and requires no event handling!
  });
- The second parameter is a lambda function that handles events.
🚀 Final Code
  #include <kontra.hpp>
  #include <memory>

  int main() {
      // It's good practice to clear the terminal screen before starting
      // the TUI application to ensure a clean slate.
      ansi::clear_screen();

      auto hello_text = std::make_shared<Text>(
          "Hello, may the force be with you!",
          TextStyle(ansi::FG_YELLOW, "", true) // Yellow, bold text
      );

      auto bordered_text = std::make_shared<Border>(hello_text);

      bordered_text->set_padding(2);

      auto screen = std::make_shared<Screen>(bordered_text);

      kontra::run(screen, [&](const InputEvent& event) {
        // This example is static and requires no event handling!
      });

      return 0;
  }
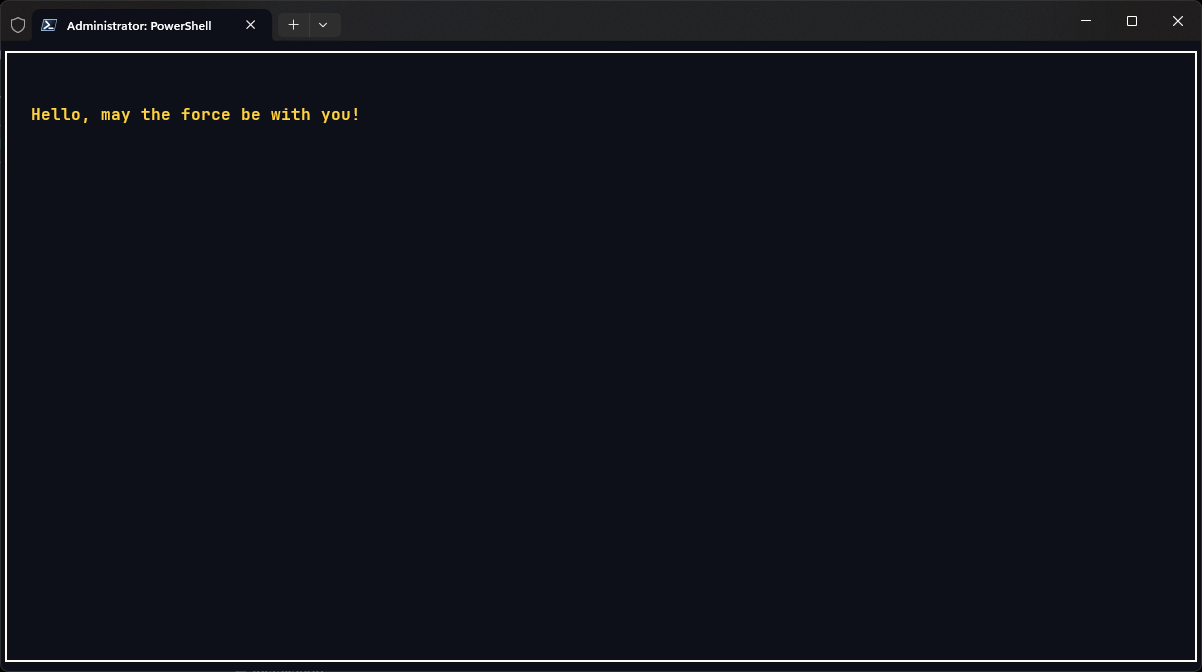
✅ Output
🏁 Summary
You just built your first terminal UI with Kontra – clean, minimal, and fully in your control.
But hey - this is just the beginning.
Every component in Kontra packs a punch. With powerful layouts, rich styling, and interactive elements, there's a lot more waiting for you under the hood.
Start exploring, start building.
Your terminal deserves better. 🚀